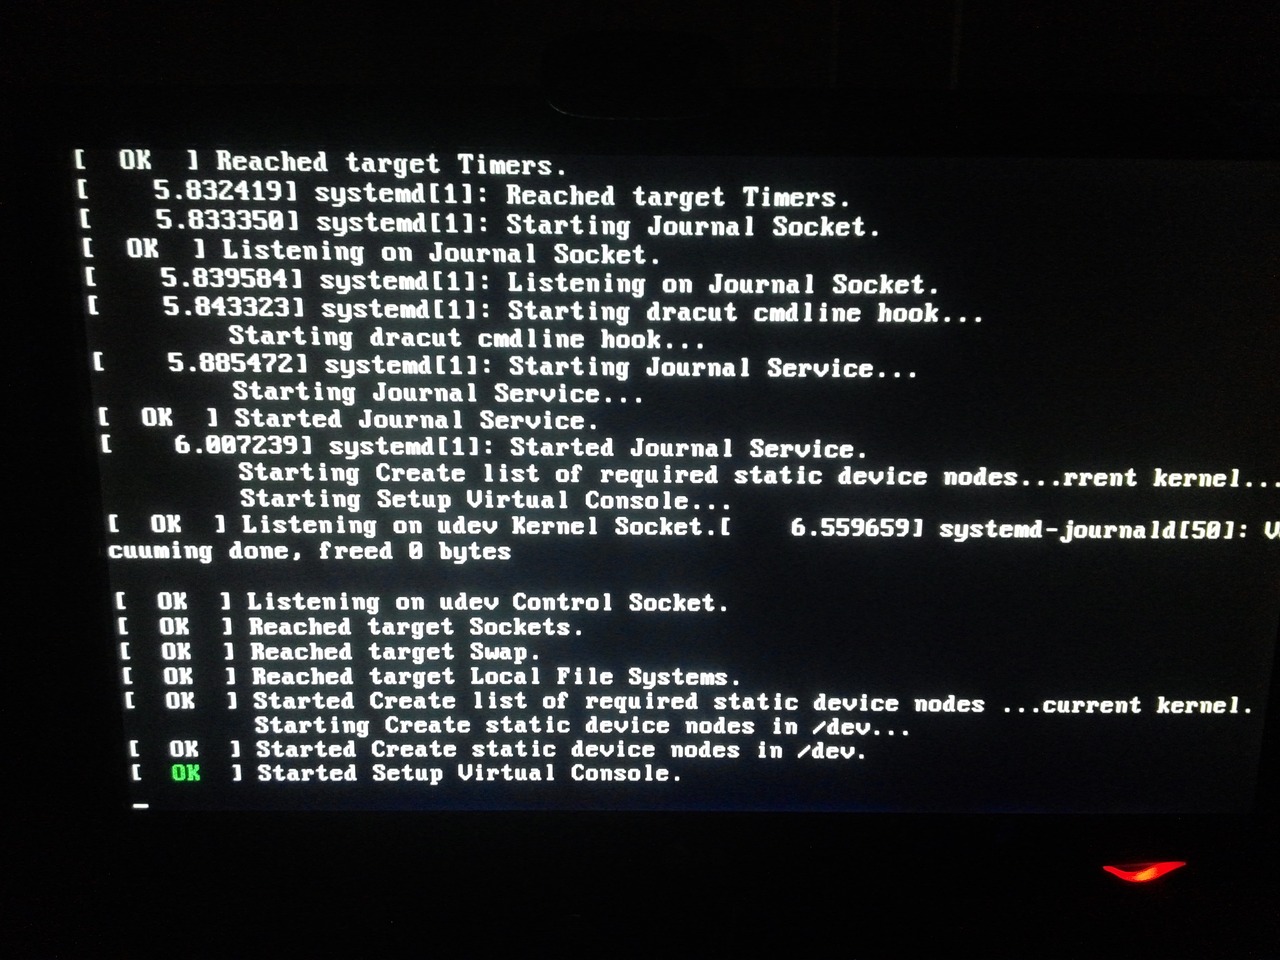
The Linux kernel is the core component of the Ubuntu operating system. Regularly updating the kernel is important as it brings new features, performance improvements, bug fixes, and enhanced hardware support. This article will guide you through the process of upgrading the Linux kernel in Ubuntu.

Before You Begin:
- Ensure that you have administrative privileges (sudo access) on your Ubuntu system.
- Take a backup of your important data to avoid any potential issues during the kernel upgrade process.
Step 1: Check the Current Kernel Version To determine the current kernel version running on your Ubuntu system, open a terminal and type the following command:
uname -r
This command will display the kernel version in use.
Step 2: Update the Package Lists Before upgrading the kernel, it’s essential to update the package lists to ensure you have access to the latest available kernel versions. Open a terminal and enter the following command:
sudo apt update
This command will refresh the package lists and synchronize them with the Ubuntu repositories.
Step 3: Upgrade the Kernel Ubuntu provides the mainline kernel packages, which can be installed alongside the default kernel. To upgrade the kernel, you can use the Ukuu utility (Ubuntu Kernel Update Utility). If you don’t have it installed, follow these steps to install it:
- Open a terminal and enter the following commands:
sudo add-apt-repository -y ppa:teejee2008/ppa
sudo apt update
sudo apt install ukuu
- Once Ukuu is installed, open it by searching for “Ukuu” in the applications menu or running the following command in the terminal:
sudo ukuu-gtk
-
In the Ukuu window, you will see a list of available kernel versions. Select the desired kernel version you want to upgrade to, and click the “Install” button. Ukuu will download and install the selected kernel version automatically.
-
After the installation is complete, reboot your system to load the new kernel.
Step 4: Verify the New Kernel After the system restarts, you can verify that the new kernel is successfully installed. Open a terminal and enter the following command:
uname -r
The command output should display the new kernel version you installed.
Step 5: Clean Up Old Kernels (Optional) Over time, multiple kernel versions may accumulate on your system. To keep your system clean and save disk space, you can remove older kernel versions. Ukuu makes this process easy:
- Open Ukuu by searching for “Ukuu” in the applications menu or running the following command in the terminal:
sudo ukuu-gtk
- In the Ukuu window, you will see a list of installed kernels. Select the kernel versions you want to remove, and click the “Remove” button.
Conclusion: Upgrading the Linux kernel in Ubuntu is a straightforward process that brings numerous benefits such as improved performance, new features, and bug fixes. By following the steps outlined in this article, you can easily upgrade the kernel and keep your Ubuntu system up to date with the latest kernel advancements. Remember to always exercise caution and backup your important data before performing any system updates.