A network driver is essential software that allows your Windows operating system to communicate with and utilize the networking capabilities of your Intel network adapter. Without the correct network drivers, you may experience connectivity issues, slow internet speeds, or no internet connection at all. If you have an Intel-based network adapter and need to install or update the drivers on your Windows computer, this step-by-step guide will walk you through the process.
1. Identify Your Intel Network Adapter Model:
Before you begin the installation process, you need to know the model of your Intel network adapter. There are several ways to do this:
-
Device Manager: Press Windows + X on your keyboard and select Device Manager from the list. In Device Manager, expand the “Network adapters” category to view your Intel network adapter’s model.
-
System Information: Press Windows + R on your keyboard to open the Run dialog box. Type “msinfo32” and press Enter. In the System Information window, navigate to Components > Network to find your Intel network adapter model.
-
Intel Driver & Support Assistant: You can also use the Intel Driver & Support Assistant, a handy tool from Intel that automatically detects and installs the latest drivers for your Intel hardware. Download and run the Intel Driver & Support Assistant from the official Intel website (https://www.intel.com/content/www/us/en/support/detect.html) to identify your network adapter model and update the drivers.
2. Download the Latest Intel Network Drivers:
Once you have identified your Intel network adapter model, visit the Intel Download Center (https://downloadcenter.intel.com/) to find the latest drivers for your adapter. Follow these steps to download the correct drivers:
-
In the search bar on the Intel Download Center website, enter your Intel network adapter model or browse the available products.
-
Select the appropriate operating system (e.g., Windows 10 64-bit) and click “Go” to view the available driver options.
-
Download the latest network driver by clicking on the “Download” button next to the driver version you wish to install.
3. Install the Intel Network Drivers:
Once you have downloaded the latest Intel network drivers for your Windows version, you can proceed with the installation. Here’s how to do it:
-
Locate the downloaded driver file on your computer (usually in the “Downloads” folder) and double-click to open it.
-
The installer will run, and you will be prompted to choose an installation option. Select “Install” or “Next” to begin the installation process.
-
Follow the on-screen instructions to complete the installation. The installation process may take a few moments to finish.
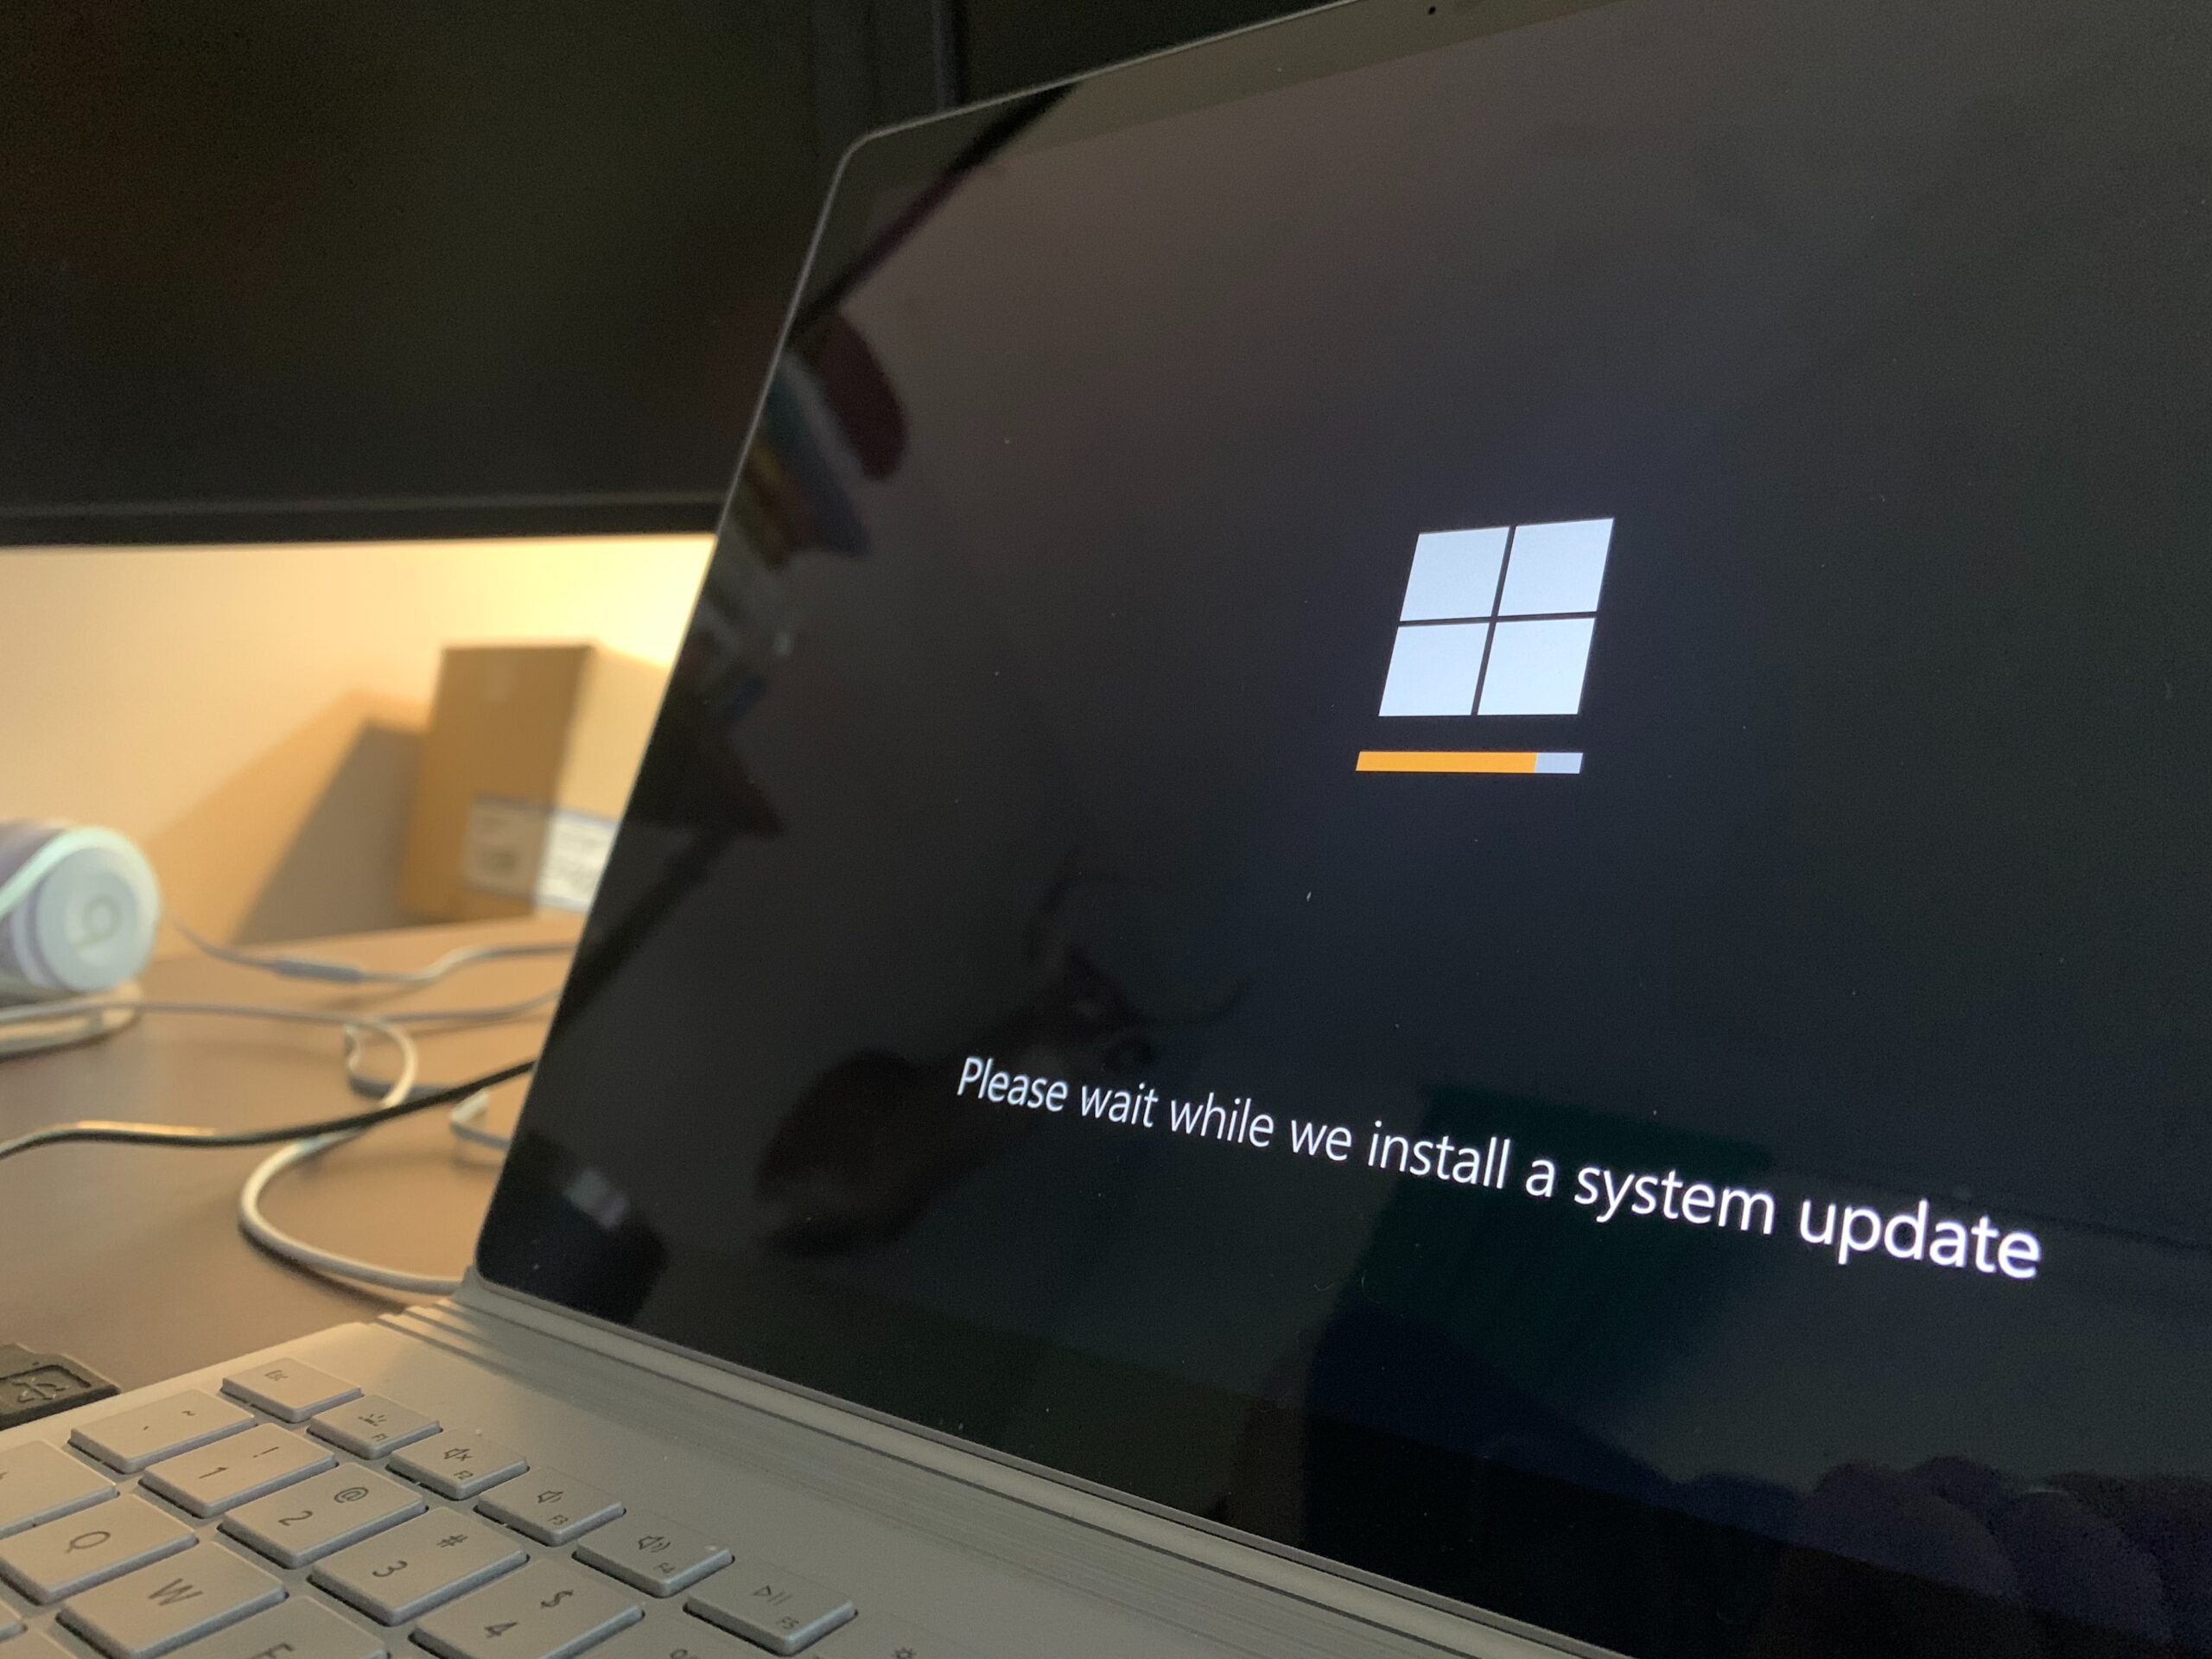
-
After the installation is complete, you may be asked to restart your computer to apply the changes. If prompted, save your work and click on “Restart Now” to restart your computer.
4. Verify the Installation:
Once your computer has restarted, you should verify that the Intel network drivers have been successfully installed. Here’s how to do it:
-
Go to Device Manager by pressing Windows + X and selecting “Device Manager” from the list.
-
Expand the “Network adapters” category to view your Intel network adapter.
-
Right-click on the Intel network adapter and select “Properties.”
-
In the Properties window, go to the “Driver” tab. You should see the driver version and date, indicating that the installation was successful.
5. Updating Intel Network Drivers:
It is essential to keep your Intel network drivers up to date to ensure optimal performance and compatibility with the latest software and hardware. Here’s how to update your Intel network drivers:
-
Repeat steps 1 and 2 from the “Download the Latest Intel Network Drivers” section to identify your network adapter model and download the latest drivers from the Intel Download Center.
-
After downloading the latest drivers, run the installer and follow the on-screen instructions as described in the “Install the Intel Network Drivers” section.
-
If the installer prompts you to uninstall the previous version of the driver before installing the new one, select “Yes” to proceed.
-
Once the installation is complete, restart your computer if prompted.
Conclusion:
Installing and updating Intel network drivers on Windows is a straightforward process that can significantly improve your network performance and resolve connectivity issues. By identifying your Intel network adapter model, downloading the latest drivers from the Intel Download Center, and following the installation steps, you can ensure that your network adapter is running with the latest software updates. Regularly checking for driver updates and keeping your network drivers up to date will help you maintain a stable and efficient internet connection on your Windows computer.